Agenda Based Registration


Overview
People

3 - 6

Prep time

5 min

Time

30 min

Difficulty

Easy

Video Tutorial


STEP 1 - Creating Agenda Items (5 min)

  1. The first step is to enable Multi FUSC in the Event Details section for lead flow process.
    Then start creating the agenda items. Under the Plan module, click Event Setup and click Agenda.


  2. Click Scheduled & choose Add New to create the new track or session, as illustrated below.


  3. Note: If it's a multi–FUSC event, update the response channel code in the Unique Code field.

  4. Complete the agenda details, as described in the steps below.


  1. a) Type (required) Agenda page.
    b) Name (required) – Enter a unique name for the agenda item. This name is displayed on confirmations and reports.
    c) Unique Code (required) – Enter a short abbreviation of the agenda item name or Response Campaign code, which is used to flow the responses to the right sales channel.
    d) Start Date and End Date – If the agenda item (such as a workshop or class) has a start and end date/time, enter this information.
        i). Click the calendar to pick dates, or enter dates in MM/DD/YYYY format.
        ii). Enter times in 24-hour format (HH:MM:SS), based on U.S. Pacific Time.
        iii). Select the Do not use dates check box to hide the start and end date fields.
    e) Sort Order – Enter a number to set where on a list this agenda item shows, within the Type. (For example, an agenda item with sort order 1 shows before an agenda item with sort order 2.)
    f) Capacity – The maximum number of seats available for a class, items available to purchase, seats on a tour bus, and so on. Enter 0 for unlimited inventory.
    g) Scheudule Management – This section is to organize agenda items by location, track and session/group. This is useful when you have many agenda items. To add the agenda item to a Location, Track or Group, select one from the list. If you wish to create a new Location, Track, or Group, enter its name in the Add a new... field.
    h) Label & Description – Enter the text (up to 1000 characters) to be displayed for this agenda item on a registration form or webpage.
    i) Description – Enter additional text (up to 8000 characters) to be included with the agenda item, and select a display option.


    j) Planner Notes – Enter the session description, which will flow to sales.
    k)  i). Save – Save the agenda item and return to the Event Agenda list described above.
        ii). Save & New – Save the agenda item and clear the page so you can enter a new one.
PRE-REQUSITE

STEP 2 - Appending in Form (5 min)

To enable your agenda section in the form sequence, under the Plan module, click Form and then click Setup. Add the "Agenda section" from the Available Sections list to the appropriate place in the Online Form Sequence list. Add Secure page before and after the agenda section as needed to continue to next page.

  • A. Agenda Section Update

    Follow these steps to make changes to the header text in the online form and group the agenda sessions.

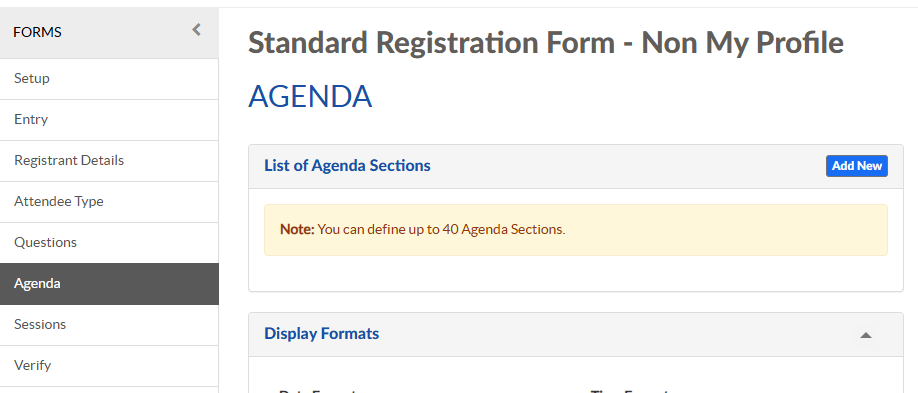
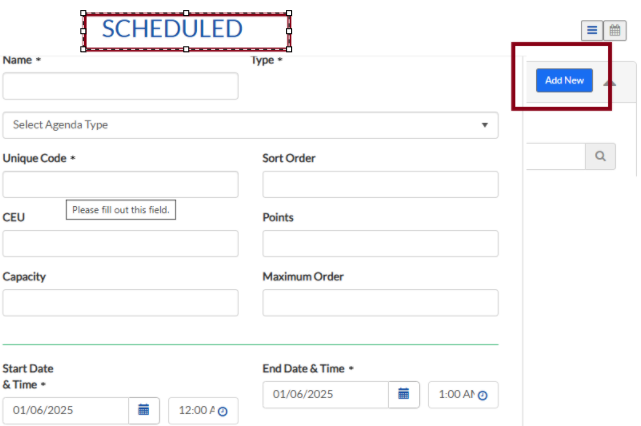
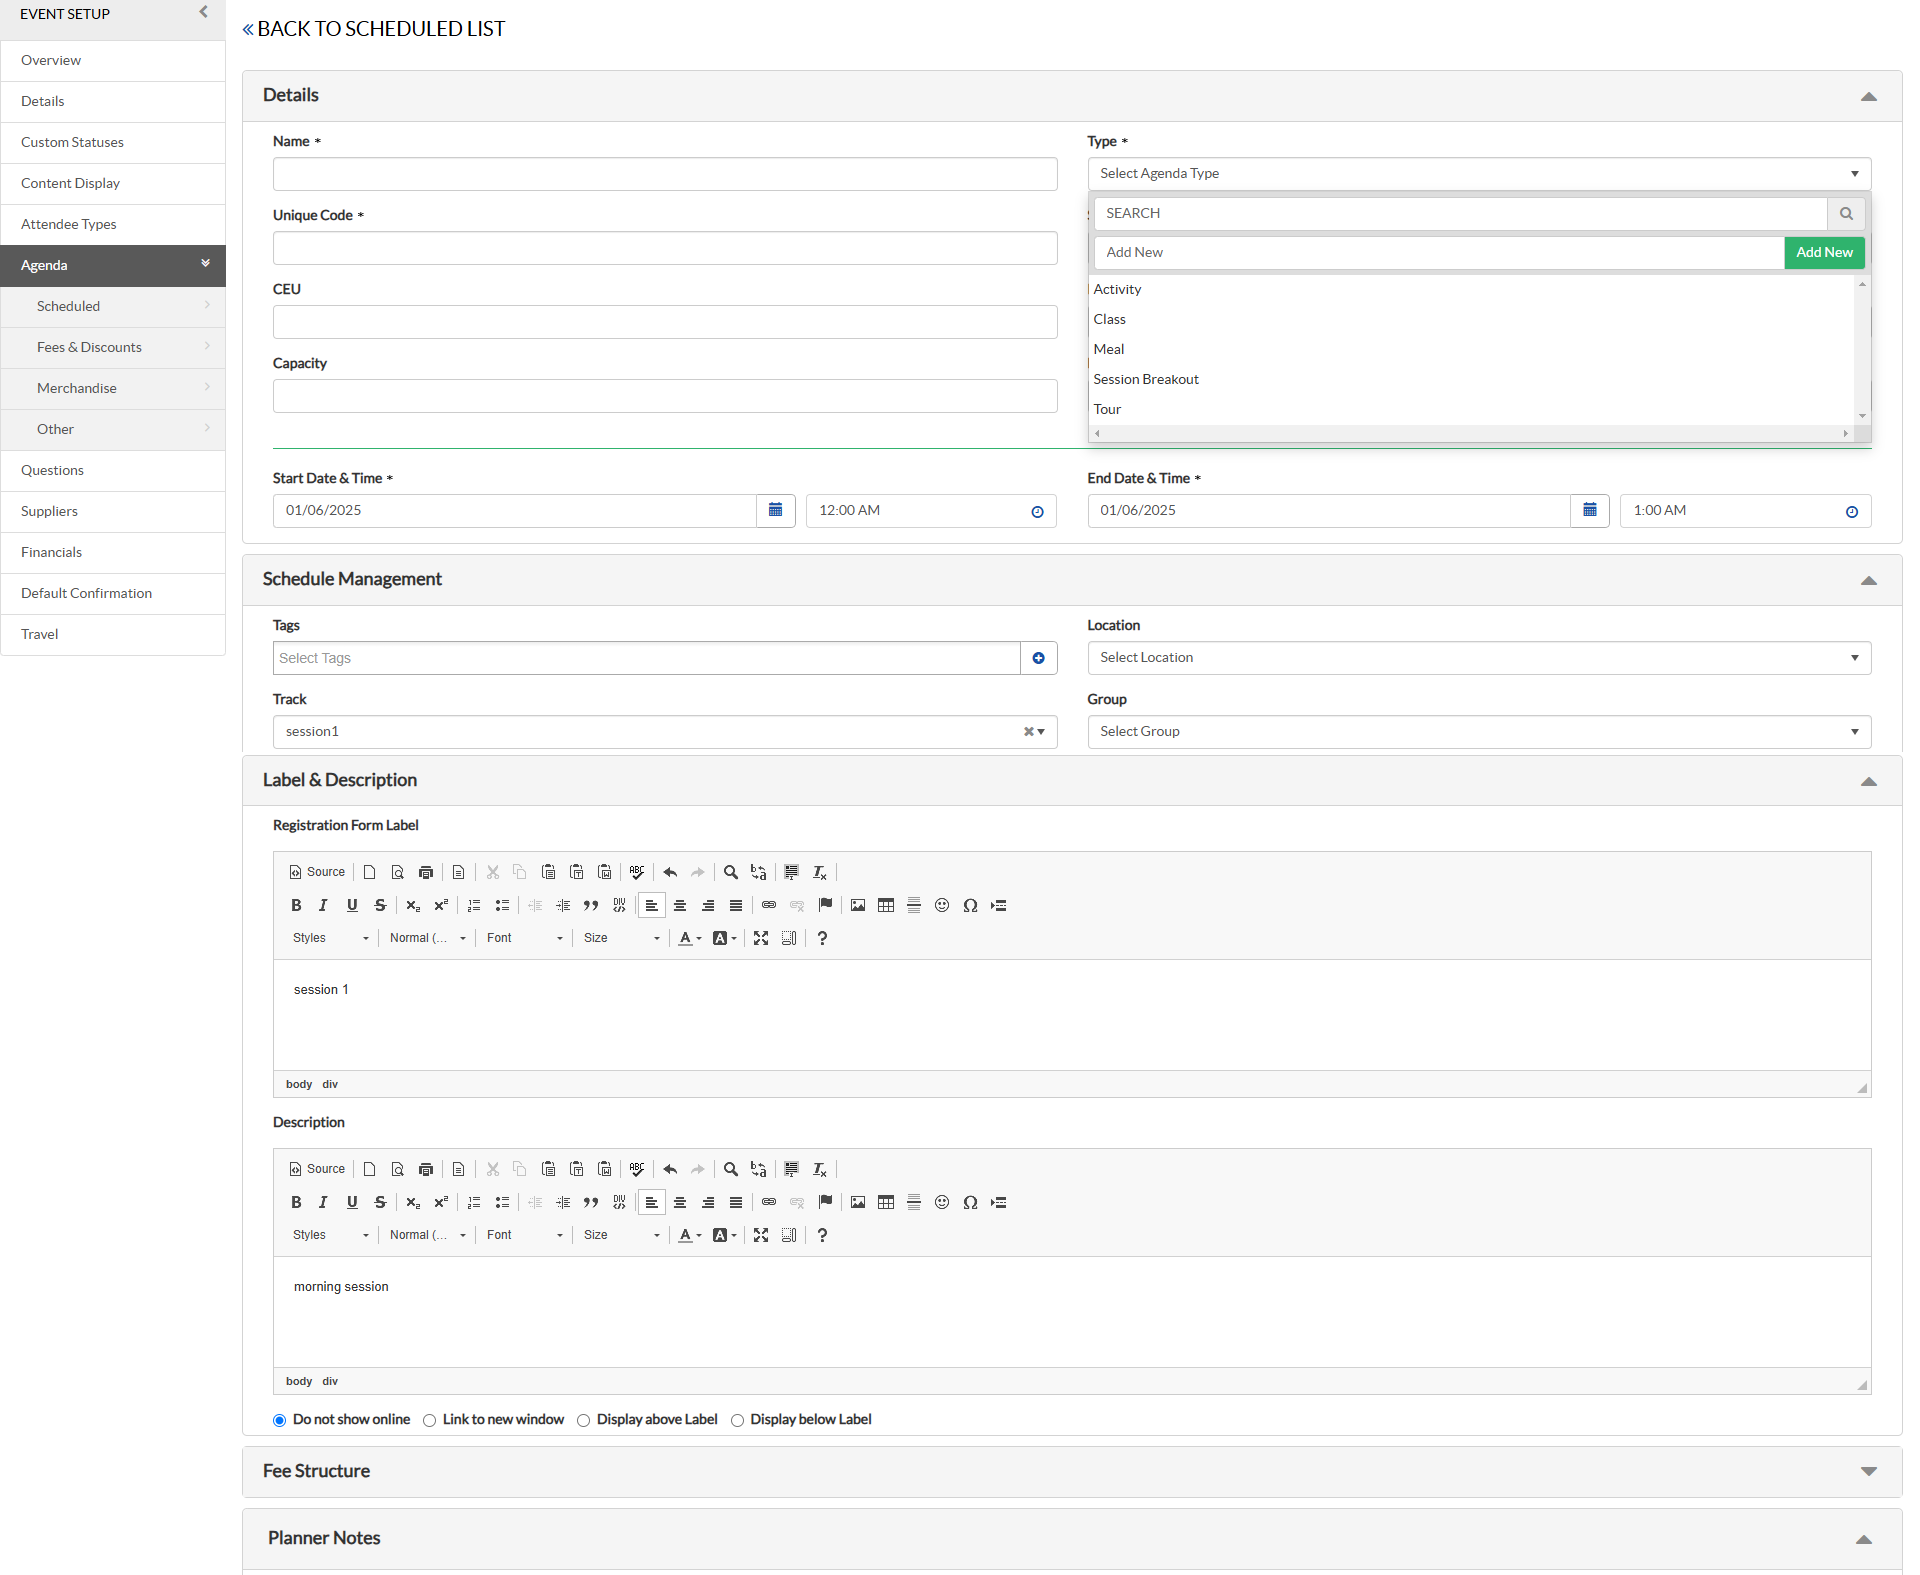
    • On Left Navigation, choose Agenda and click on Add New to create the Agenda Section. To update the Agenda Section1 click on pencil icon and proceed.


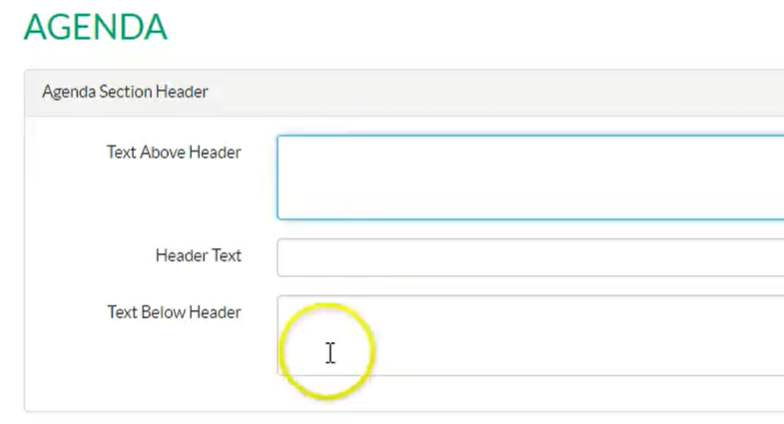
    • Update the online form header in the Header section.

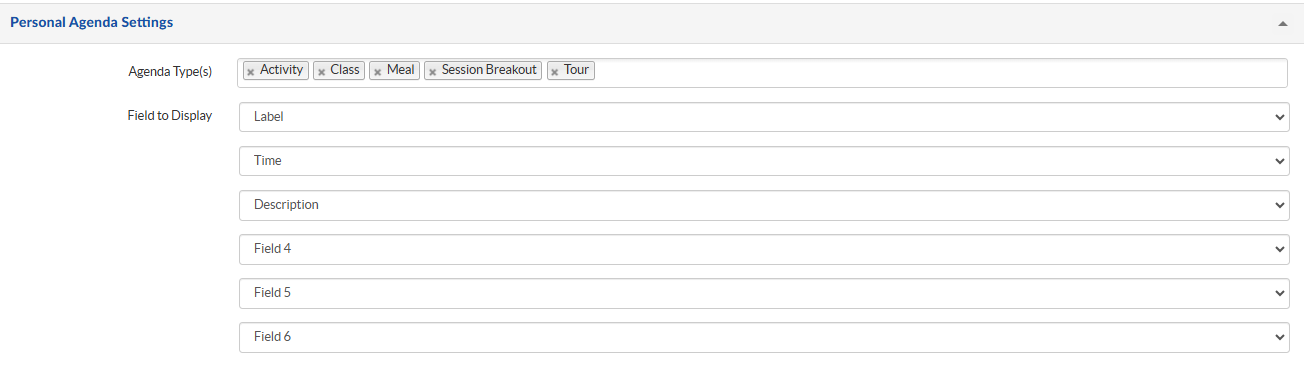
    • Agenda Section is used to display Section Name, Type and to group Sessions/Tracks by Start Date, Track, Group and Location with grouping hierarchy in the web page. Retain only the Agenda type that you have created and rest can be removed. Label can be aligned Top/Left under Group Label Alignment and sessions can be formatted by changing Assign Class.

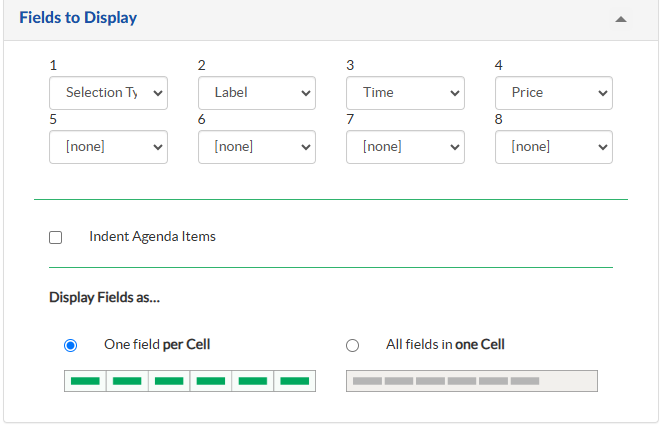
    • The Fields To Display section is used to determine the optional fields to display in the online form about the session and track details and a option NONE can be selected if nothing has to be displayed.

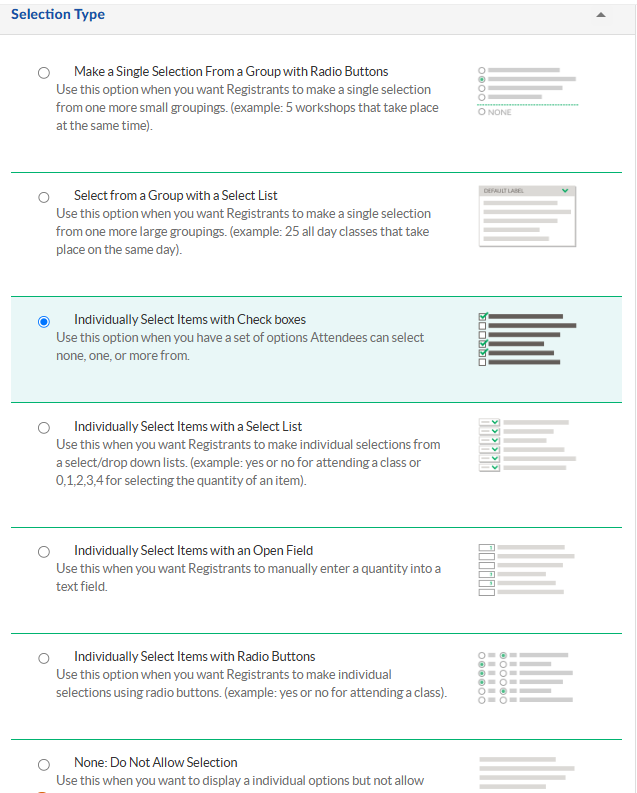
    • Under Selection Type, there is an option to select the group based on Radio buttons, select list or Checkboxes as single-choice or multiple-choice selections.

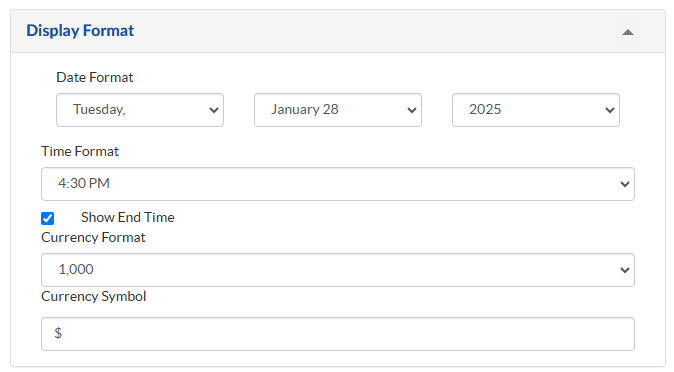
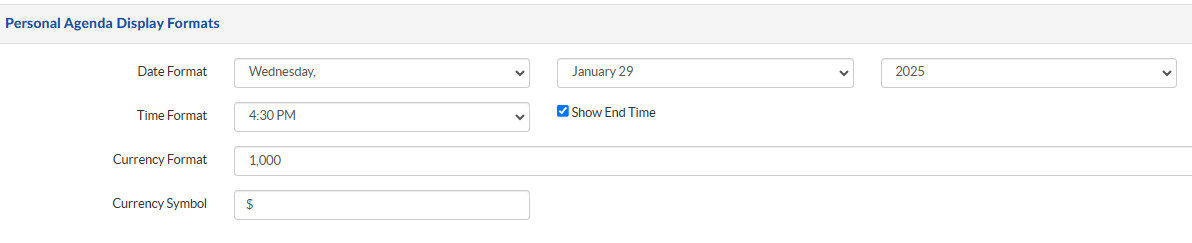
    • Display Format Session can be used to set the date and time format

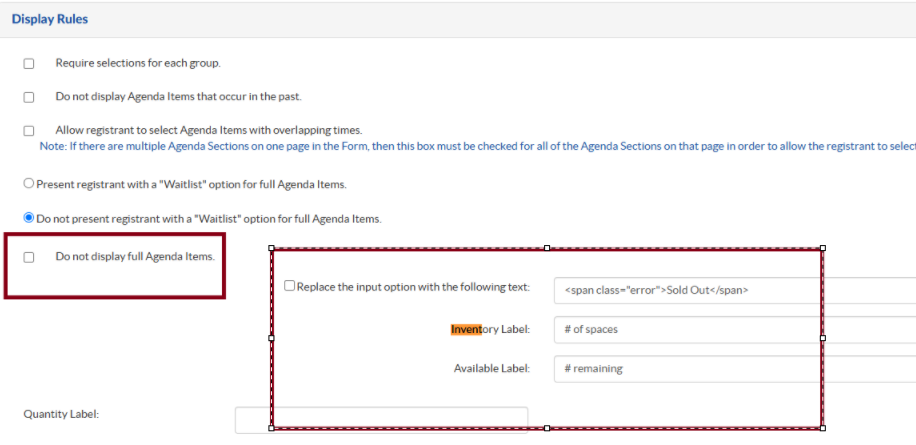
    • The Waitlist/Inventory section is used to determine the functionality flow when we have to choose waitlist for agenda sessions.
    • You can enable the waitlist option for all Agenda items by selecting 'Present registrant with a "Wailtist Option " for full Agenda Items.'
    • 'Do not present registrant with a "Waitlist" option for full Agenda Items. ' - Disable the waitlist option
    • 'Do not display full Agenda Items. ' - will be enabled based on the inventory
    • Under Display Format, select the desired configuration options.

    • Click Save.

STEP 3 - Configuring Session Information (15 mins)

Follow these steps to display session information in notifications. The steps include configuring the personal agenda, configuring the new display rules and associating the created display rules with the notifications.

  • A. Configuring the Personal Agenda

    Personal Agenda – The configuration of this section on the event's primary form determines how its displayed when included in an email template or a display rule.

    To configure the personal agenda - Click Forms → Agenda → choose Agenda Display Options. Below sections are available to format the personal agenda
        a) Personal Agenda Headers
        b) Personal Agenda Display Formats
        c) Personal Agenda settings
        d) Personal Agenda Add to calendar

    Note: Cancelled agenda items are not displayed in the Personal Agenda section.


    1. Under Fields To Display section, select the fields in order to display in the notification.

    2. Under Display Format, select the desired configuration options.


  • B. Configuring the Display Rules

    1. Under Plan → Event setup --> Display Rules.
    2. Click Add New to create new display rules.

    3. Update the display Rule Name. Under Rule Action, in the Available Sections list, select Confirm Section: Personal Agenda and move it to the Active Sections list.

    4. Click Save.

STEP 4 - Configuring email notification (5 min)

  1. Under the Promote module, click Communications and select the respective notification template to associate the display rule.
  2. In the Append drop-down list, select Display Rule: Personal Agenda.

  3. Updated Display rule will fetch the data as per the formatted content created in the Custom block. Below is the sample notification with the data.

Nailed it?

If yes, click below to confirm completion of this topic.

Yes, I have understood this topic well

Integrated Cloud Applications & Platform Services

We're here to help

Discussion Forum

  • To participate in our discussion forum join the slack channel #mktg-demandcenter or click here