Certain Check-In App
Certain Check-In App helps marketers/ agencies check-in the attendees at the event.
 People
3 - 6 |
 Prep time
5 min |
 Time
30 min |
 Difficulty
Easy |
STEP 1 - Configuring Check-In Module (5 min)
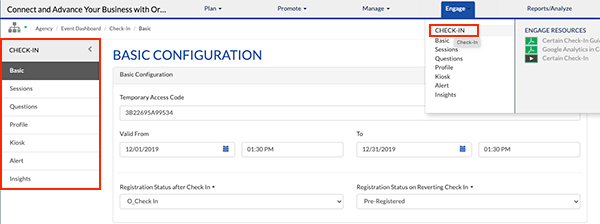
This section shows how to configure the Check In module. There are four types of configuration as shown in the image below. To navigate to configuration section, select Engage → Check-In.
STEP 2 - Basic Configuration Setup (10 min)
- The Temporary Access Code field : Is Auto generated by default (Min 10 to Max 25 characters). Ensure it is in the format- “EVENT” followed by event request number. For example- EVENTOER12324232
- Valid From and To field – This is used to set the date and time from when the application should be made active. Note: It is recommended to set the Valid From to a day prior to the event date or ask the marketer when they plan to begin testing the App. (This date must encompass the testing time). Valid To needs to be past the event date, not the same as the event date.
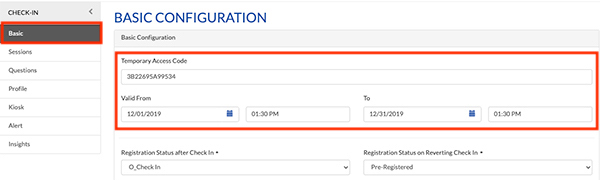
3. a) Registration Status after Check In-
The default selection should be O_Check In (no emails are associated)
3. b) Registration Status on Reverting Check In
Should be set to Pre-Registered to make sure no emails are triggered.

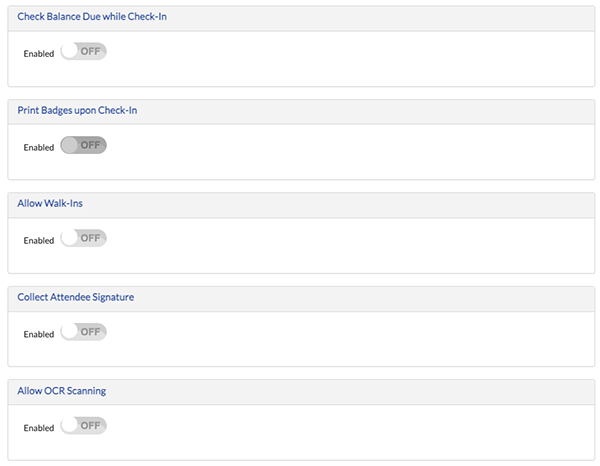
4. All toggled options should be OFF. NOTE: Walk-ins must use the Walk-In Form, Walk ins via the Check in App is against compliance.
5. Guest List - Attendee Types: Select all attendee types used in your event from the dropdown. (You can unselect Test attendee types)

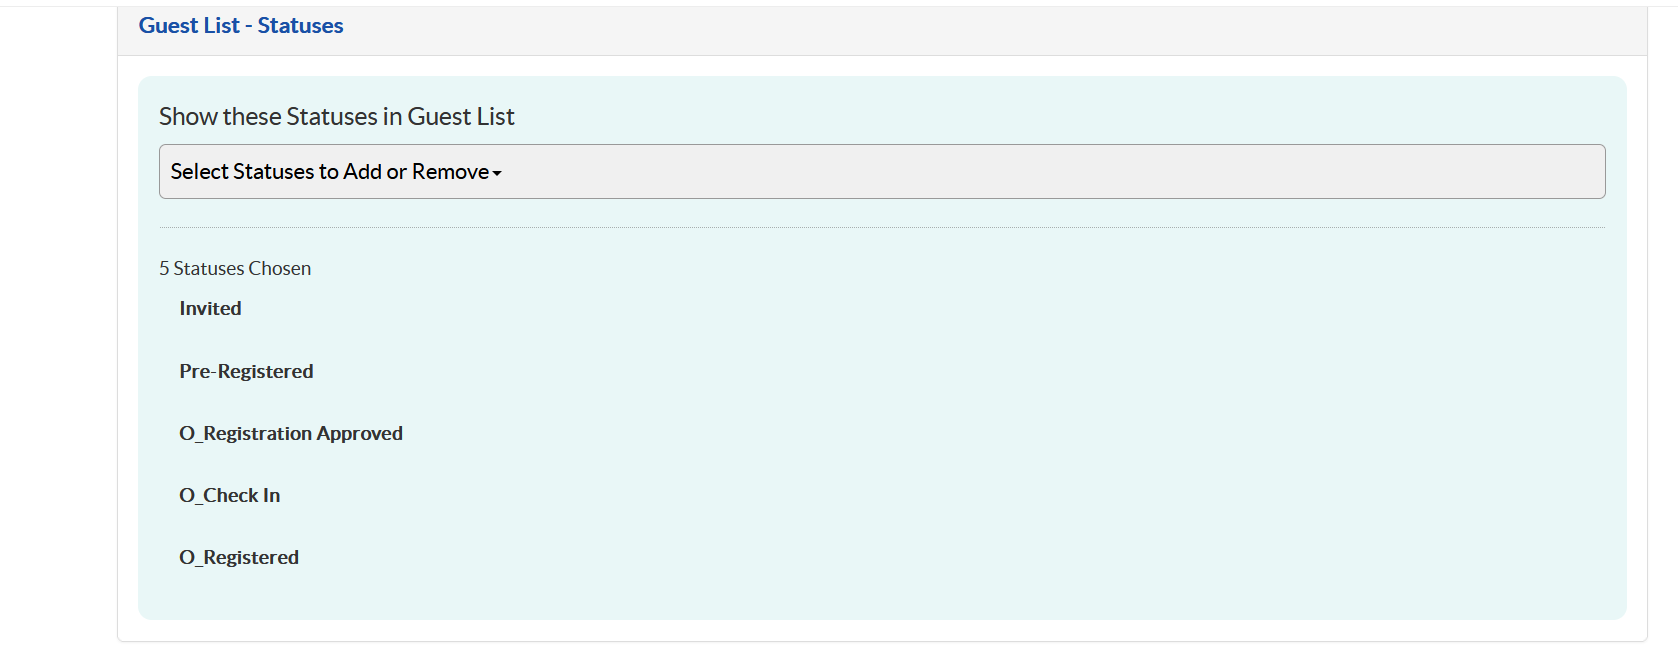
6. Guest List – Statuses: ONLY those statuses that are for approved registrations should be available in the Check-In app. Do not Select ALL/None option. Check your event for which statuses are the approved registrants and only use those. For example, you would never want denials in your Check-In app. Typically you will have O_Registered and O_Registered Approved. (O_Check In and Pre-registered will be added by default).
Pro Tip
When Basic Configuration is complete you can download the Certain Check-In App (iPhones only) for yourself and follow the instructions on the Check-In App PowerPoint (slides 5-7) to ensure that you see registrants. Share the PPT with your marketer!
STEP 3 - Session Configuration Setup (15 mins)
This set up enables checking in to a specific session at the event, and to select the sessions that are allowed to have walk-ins. But for now mark this as a “Off”.

For details on enabling sessions in the CheckIn app, check the Certain Session Scanning Playbook page.
STEP 4 - Question Configuration Setup (10 min)
Question Configuration – This is used to configure questions that can be asked to the attendees, while they check in to the event. These questions shall be provided to Demand Center by the requesters.
Below is the process to configure questions -
- Select- Event setup → Questions, and add all the questions.
- Go to Engage → Check IN → Questions configuration, and select the question/s you had created from the dropdown
- Questions can be made mandatory or optional by choosing On/Off in the ‘Required’ toggle

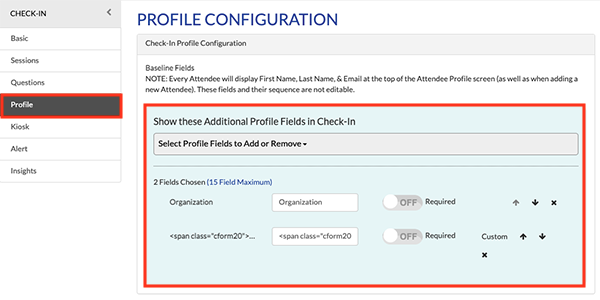
STEP 5 - Profile Configuration Setup (10 min)
Profile Configuration – Select (and set the order of) the profile fields to be shown in the check-in app as per legal guidelines.
- For All events it is mandatory to fill the Organization field with the Company name.
- In addition, all the NA events, should mandatorily include “Government Employee” in the span class field, as shown in the below screenshot.
- Fields can be made mandatory or optional by choosing On/Off in the ‘Required’ toggle
Creating a check-in QR Code
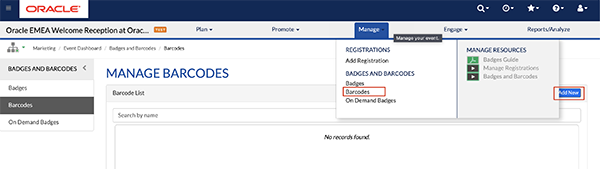
- Go to Manage > Barcodes and click “Add New”
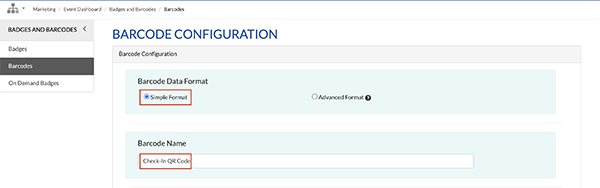
- Choose Barcode Data Format as “Simple Format”
- Input a Barcode Name, avoid commas in this name (example: Check-In QR Code)
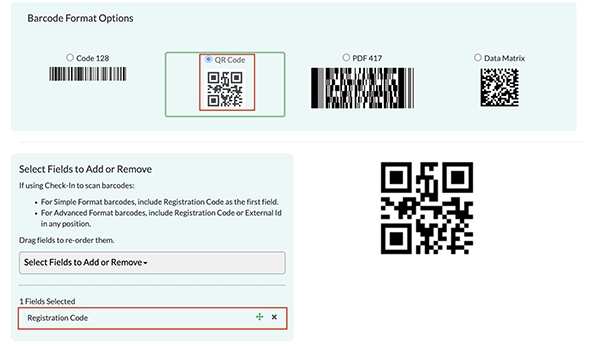
- Select the Barcode Format Option “QR Code”
- Under Select Fields to Add or Remove add the field “Registration Code” only. No need to add other fields if the marketer is only using the Certain check-in app onsite.
- Leave the Barcode Delimiter as a comma
- Save
Adding a check-in QR Code to emails
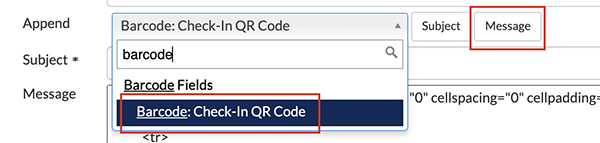
- In both the confirmation and reminder emails, have your marketer provide instructional text. To add the barcode, go into the Append Fields dropdown, search and select the barcode field merge, then click the Message button to add it to your HTML.
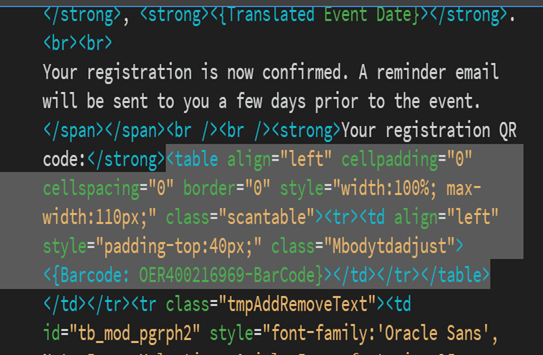
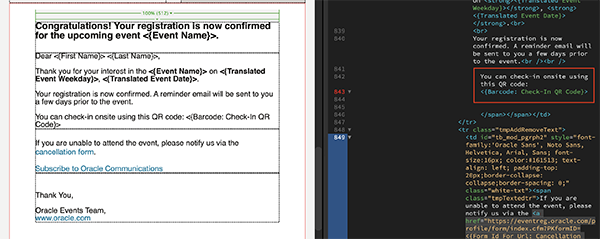
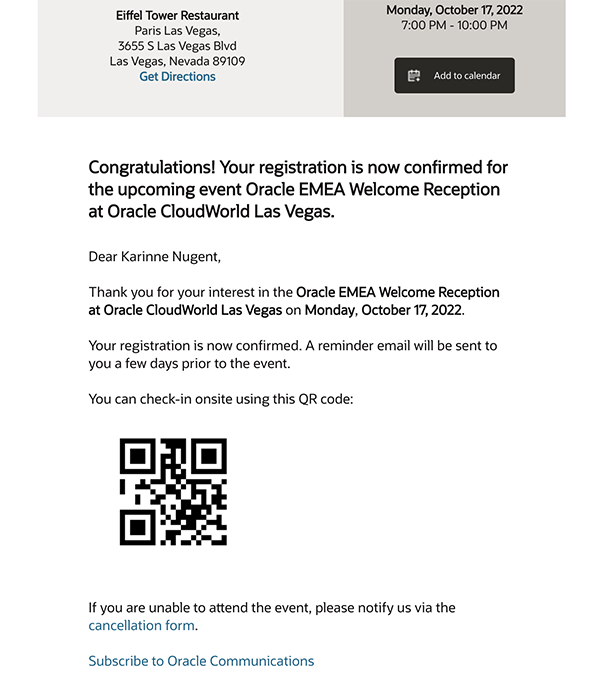
- When you test you should see the QR code appear in the emails. The QR code should be in below format:
<strong> Your registration QR code: </strong> <table align="left" cellpadding="0" cellspacing="0" border="0" style="width:100%; max-width:110px;" class="scantable"> <tr> <td align="left" style="padding-top:40px;" class="Mbodytdadjust"> <{Barcode: OER400216969-BarCode}> </td> </tr> </table>
Creating a check-in report
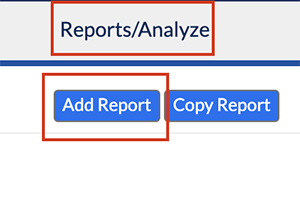
- Go to Reports/Analyst > Add Report
- Put in a Report Name like “Check-in Report” and Report Description like “Report to show check-in times”
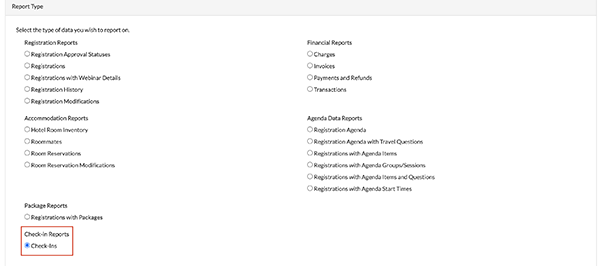
- Under Report Type select “Check-Ins”
- Save
- From here either you or the marketer can configure the columns available to display data about check-ins.

For futher innformation on how to Login to the CheckIn app, Kindly review Check-In App PowerPoint
Related Topics
Nailed it?
If yes, click below to confirm completion of this topic.
Yes, I have understood this topic well