Overview of Forms, Notifications, Statuses and Attendee Types
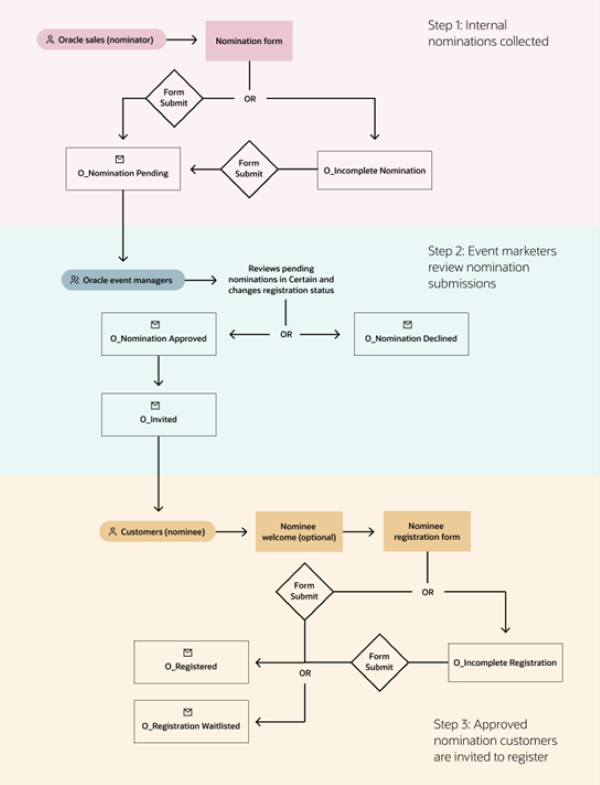
Nomination events have forms, notifications, custom statuses and attendee types, just like standard, monitored and waitlisted events. This section describes them and explains how to set them up.
Forms
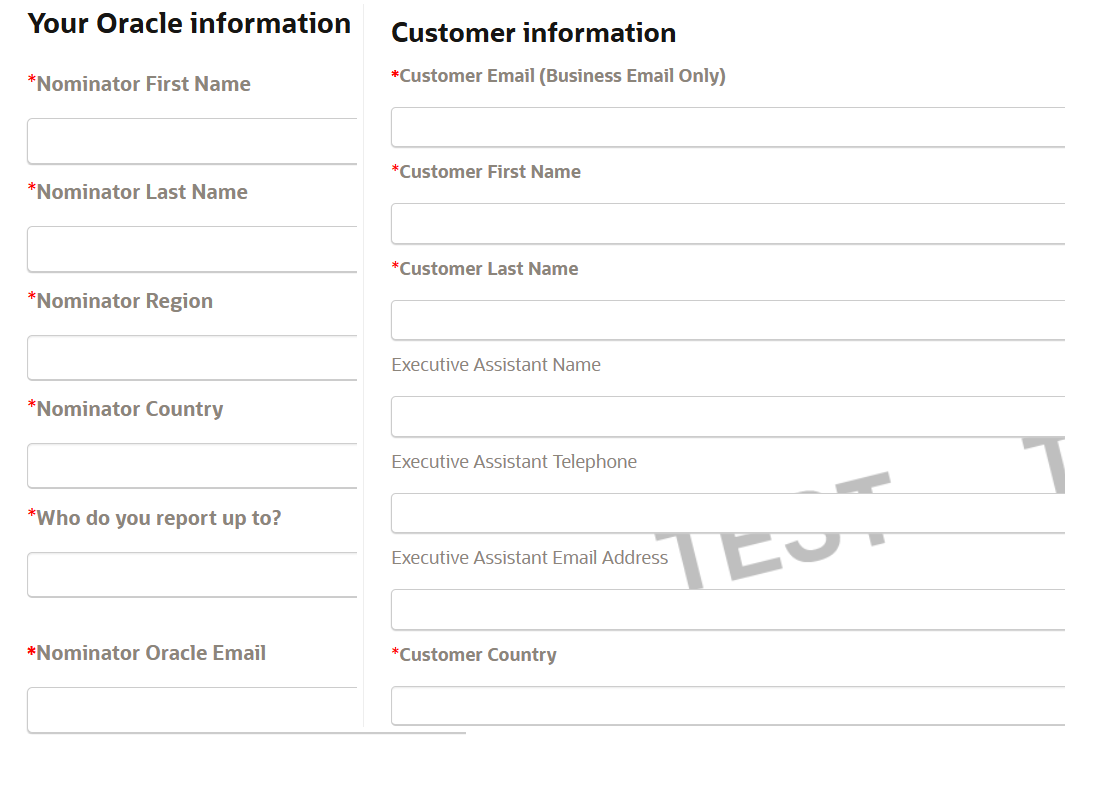
To execute nomination event requests, the Demand Center team uses a combination of forms including the Nomination Form, Standard or Waitlisted Nominee Non My Profile form and Monitored Special Invitee Non-MyProfile and MyProfile forms. See the form list below for specific information and guidance on each form and when to use them.
Nomination Related Forms
There are 3 nomination related forms to setup depending on the event use case. You will pick either the Nomination Form OR High Event Value Org Approval Form(Business Courtesy). In some cases, you may also need to setup the Nomination Approval Form.
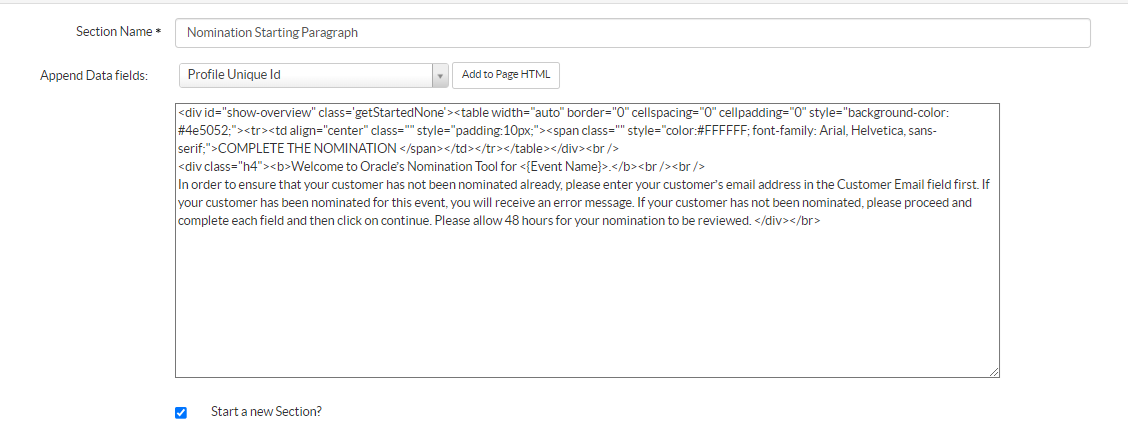
- Nomination Form: Use this form for an event that will not involve a business courtesy requirement (the cost per person for the event must be under $1,000 US).
- High Event Value Org Approval Form(Business Courtesy): Use this form for an event that will include a business courtesy requirement (the cost per person for the event is over $1,000 US).
- Nomination Approval Form (Optional): Use this form in conjunction with 1 of the above nomination forms only if the nomination submissions need to be reviewed and approved/declined by Oracle employees that will not have access to the Certain event instance.
Nominee Registration Related Forms
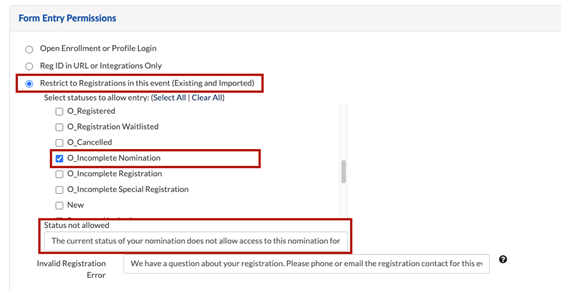
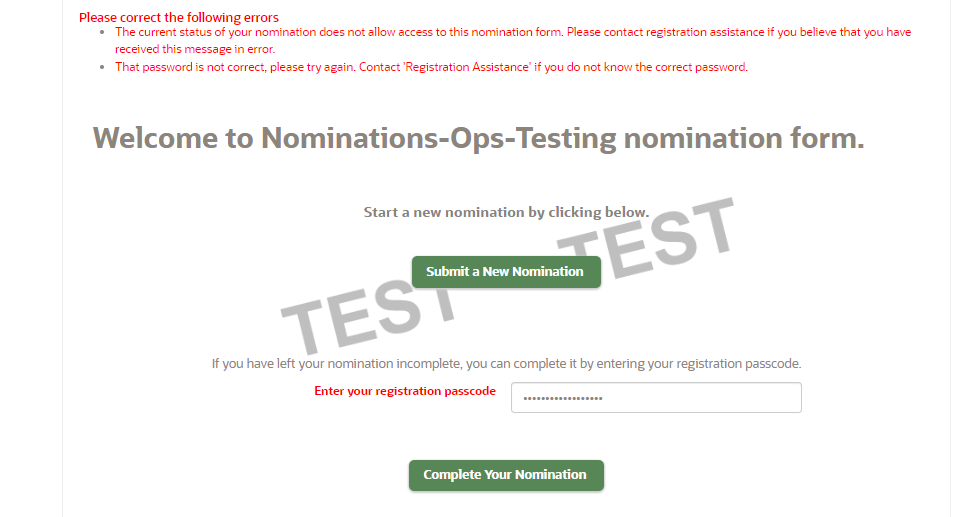
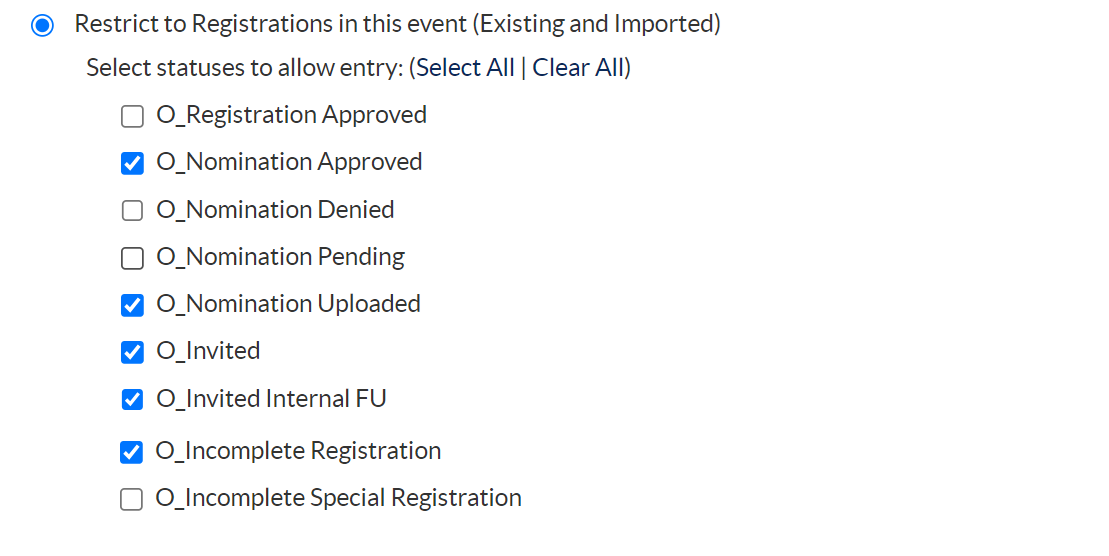
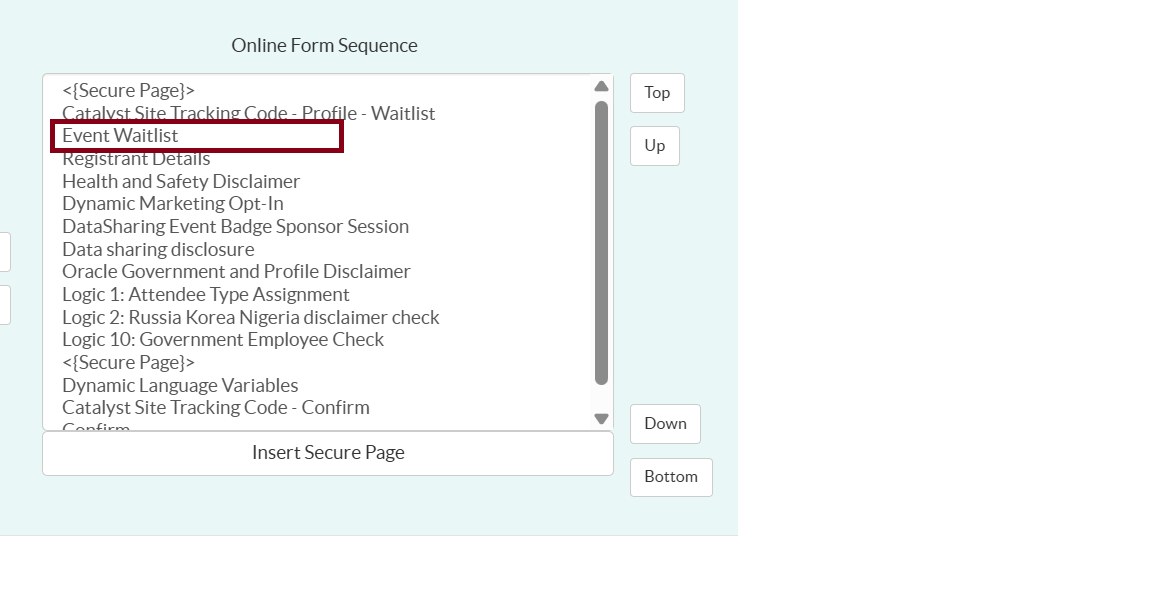
Approved nominees will register on a non-myprofile form that is either standard or waitlisted. The nominee forms include an entry page that validate the registrant using this form has gone through the nomination process and was approved to attend. You will pick one of the below forms depending on what is listed in your portal request details. Both of this forms can optionaly be linked to in a Welcome page or the direct form links can be provided to the marketer instead.
1. Standard Nominee Reg Form – Non My Profile
2. Waitlisted Nominee Reg Form – Non My Profile
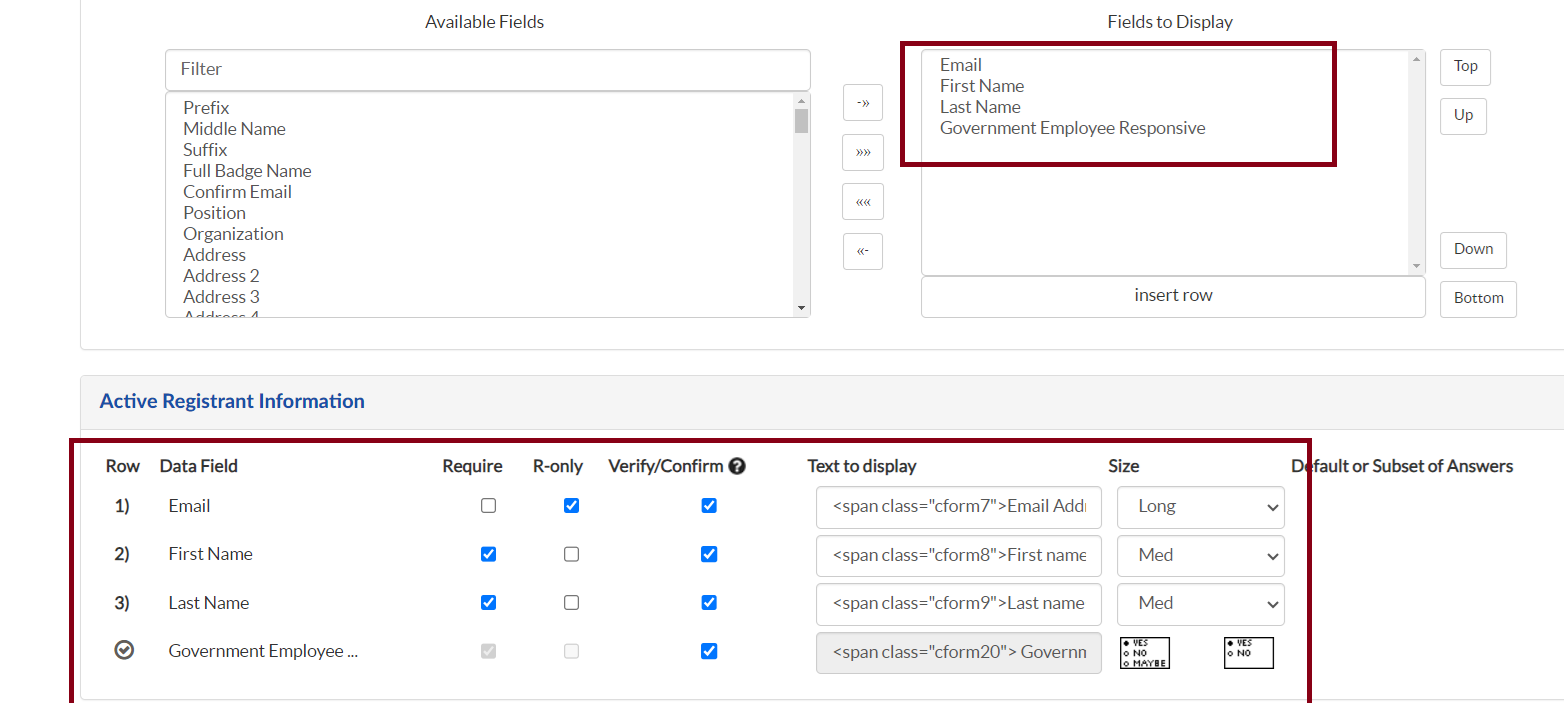
3. Monitored Special Invitee Reg Form – My Profile/Non My Profile
Other Registration Forms
- Cancellation registration form: Used for registrants who would like to cancel their registration.
- Special Invitee Re-Registration Form: Used for registrants who would like to change their agenda sessions.
- Tele-Registration Form: Used to register users via inbound or outbound telephone calls.
- Add New/Update Registration – For Oracle Use: Used by registration support users within Certain to add their registrants at event time.
- Walk-in Form: Set this form up for special invitees who need to register onsite.
- High Event Value Org Approval Form (Business Courtesy) Form: Set this form up if your event is over $1,000 USD per person. This form is used by a registrant’s ethic/legal officer to approve his/her attendance of the event. The only exclusion from this process are Oracle employees attending the event. All other attendees must comply with this process.
Note: An internal courtesy form does not exist in a nomination event. Oracle employees should be using the nomination form to submit customers for reg instead.
Notifications/Communication Related Emails
Use the following notifications for nomination-based events.
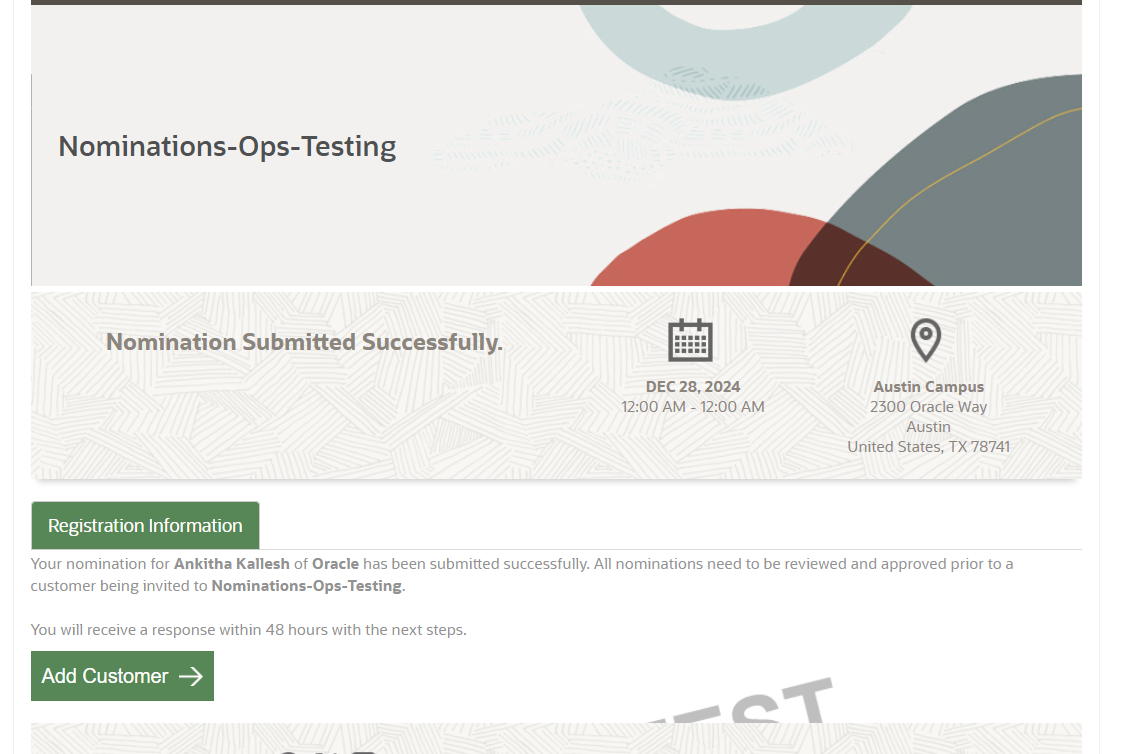
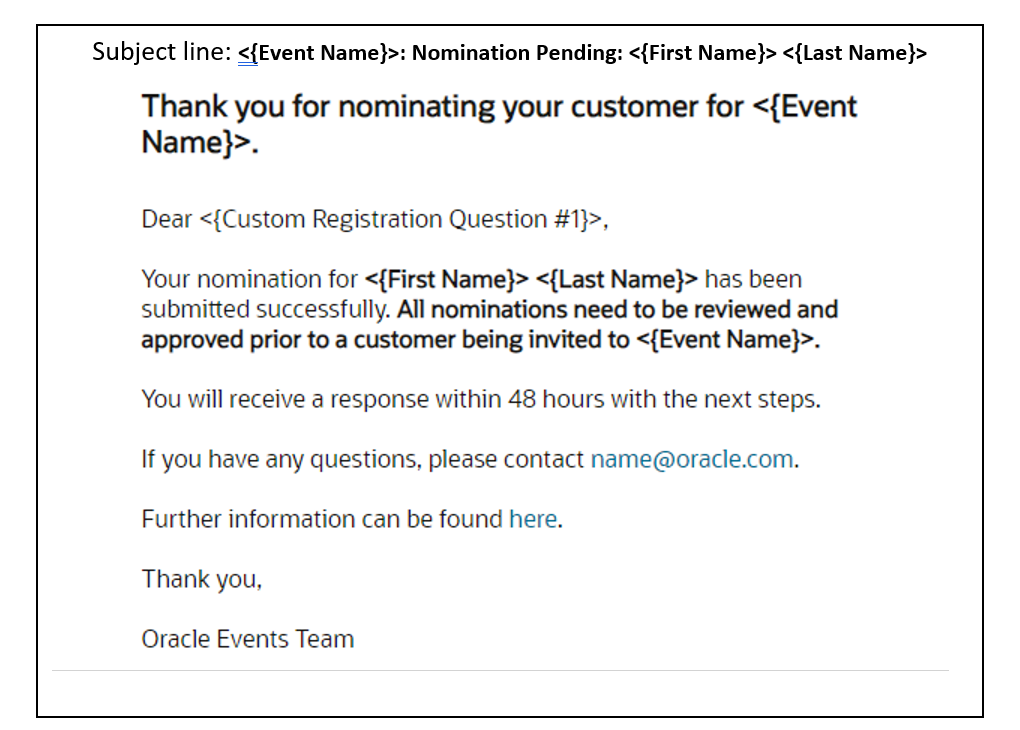
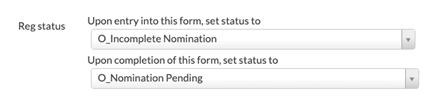
- Nomination Pending Email to Nominator: Email notification auto triggered by the reg status “O_Nomination Pending” to the nominating Oracle Sales Rep upon successful completion of a nomination form. This email must have an Oracle internal footer.
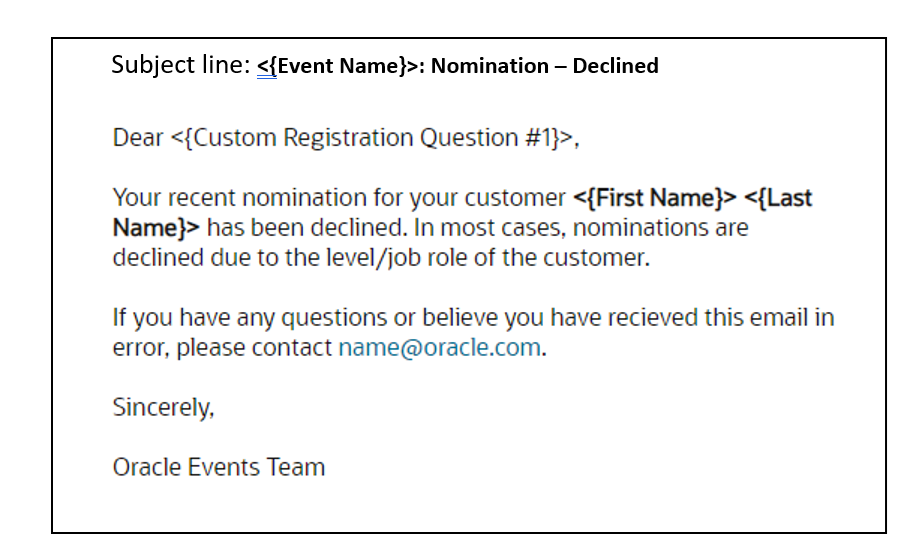
- Nomination Declined Email to Nominator: Email notification auto triggered by the reg status “O_Nomination Declined” to the nominating Oracle Sales Rep when an event manager has declined the customer to receive an invite to the event. This email must have an Oracle internal footer.
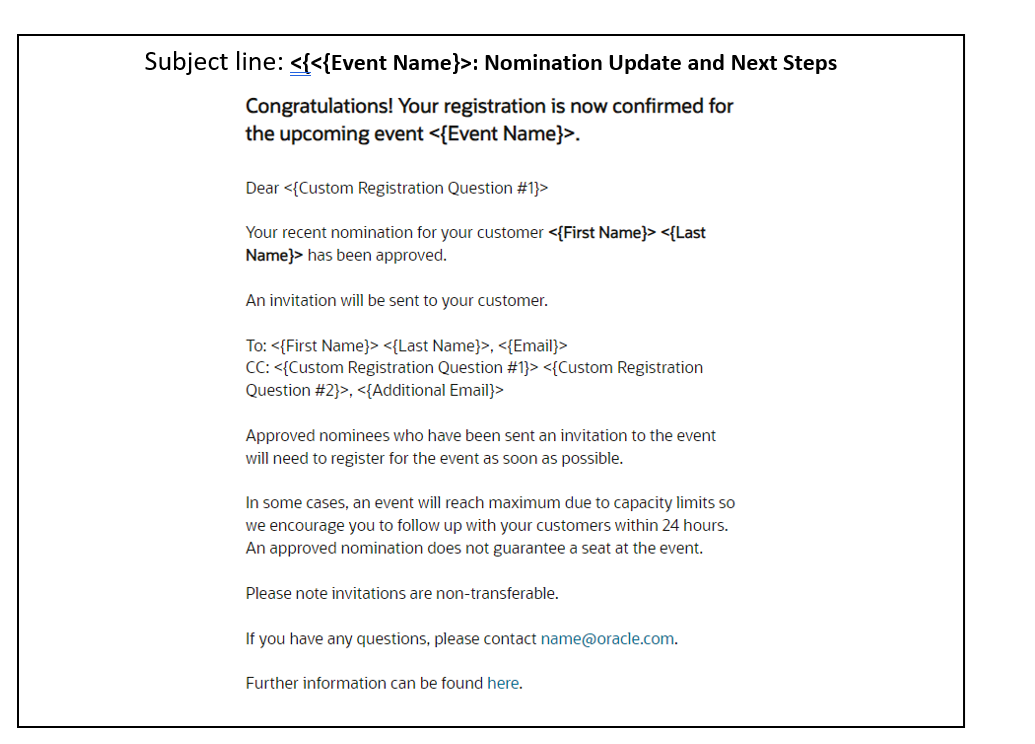
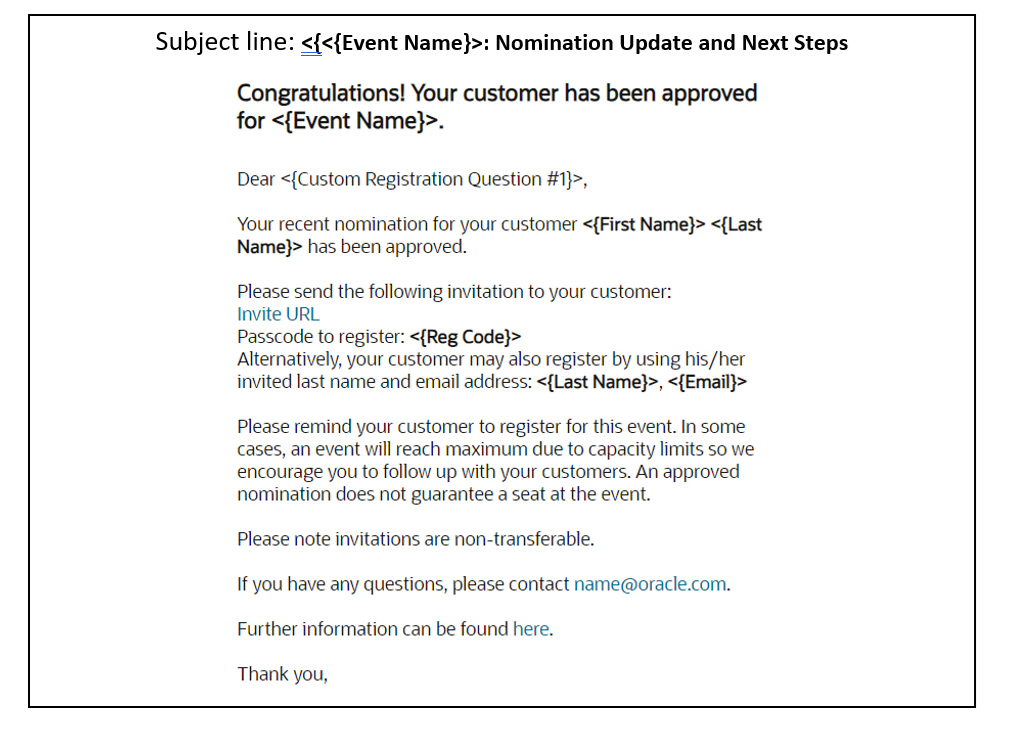
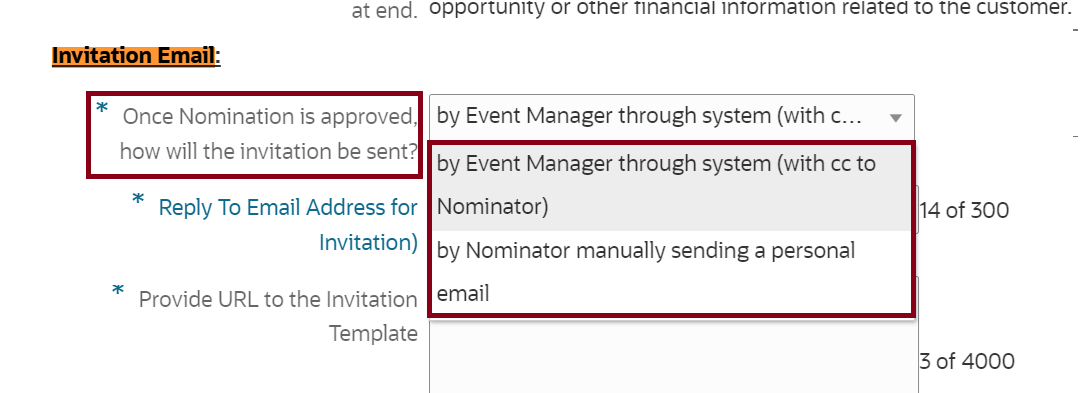
- Nomination Approved 2 Nominator – Nominator Invites: Use this email notification to be auto triggered by the reg status “O_Nomination Approved” to the nominating Oracle Sales Rep when the invitation email should be sent by the nominator. This email will generally contain further instructions or a link to a sales evite for the sales rep to proceed inviting the approved customer to the event. This email may also be used if the invitation is going to be sent by another manner outside of Certain, such as physical mailers or a personal email from an Oracle VP, ect. This email must have an Oracle internal footer.
- Nomination Approved 2 Nominator – Event Manager Invites: Use this email notification to be auto triggered by the reg status “O_Nomination Approved” to the nominating Oracle Sales Rep when the invitation email will be sent by Certain. This email must have an Oracle internal footer.
- Incomplete Nomination Email (triggered to Sales Rep to inform about incomplete registrants to ask them to complete their nominations).
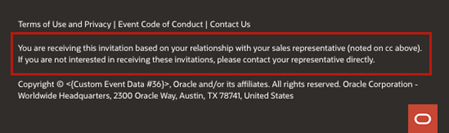
- Customer Invitation: Use this email when the invite should be sent out of Certain when the reg status is changed to “O_Invited”. This email must have the nomination invitation email footer and must include the nominating Oracle Sales Rep in CC for opt-out purposes.
- Nomination Approver Email: Set up a nomination approver email with instructions and link to the “Nomination Approval Form” if your event requires nomination submissions to be reviewed and approved/declined by Oracle employees that will not have access to the Certain event instance. This email should go to the Oracle employee(s) reviewing the nomination submissions and must have an Oracle internal footer.
Nominee Registration-Associated Emails
The following notifications are triggered to the customer.
Standard Nominee Emails:
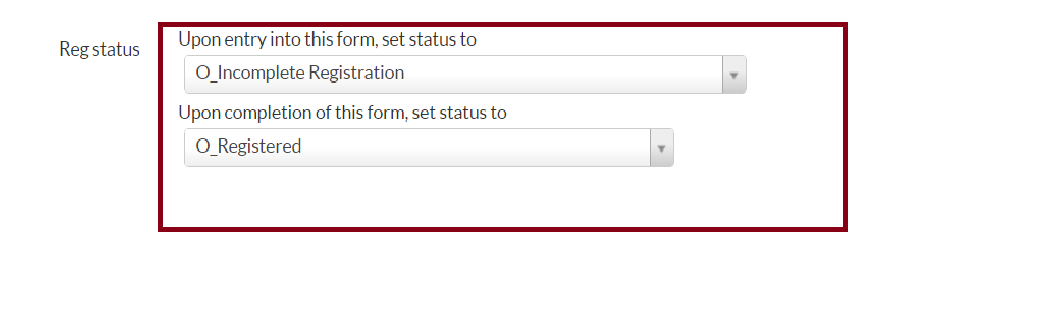
- Email Registration Confirmation: Setup like you would for a standard event as confirmation of successful registration. This email should go to the registered nominee and may CC the nominating Oracle Sales Rep if required by the event marketer. This email should be auto triggered by the reg status “O_Registered”.
Waitlisted Nominee Emails
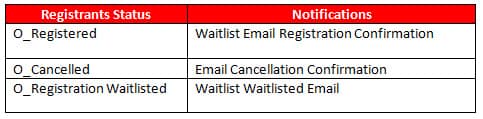
- Waitlist Email Registration Confirmation: Setup like you would for a standard event as confirmation of successful registration. This email should go to the registered nominee and may CC the nominating Oracle Sales Rep if required by the event marketer. This email should be auto triggered by the reg status “O_Registered”.
- Waitlist Waitlisted Email: Setup for waitlisted nominee registration pathway only as done for a waitlisted event. This email should go to the registered nominee and may CC the nominating Oracle Sales Rep if required by the event marketer. This email should be auto triggered by the reg status “O_Registration Waitlisted”
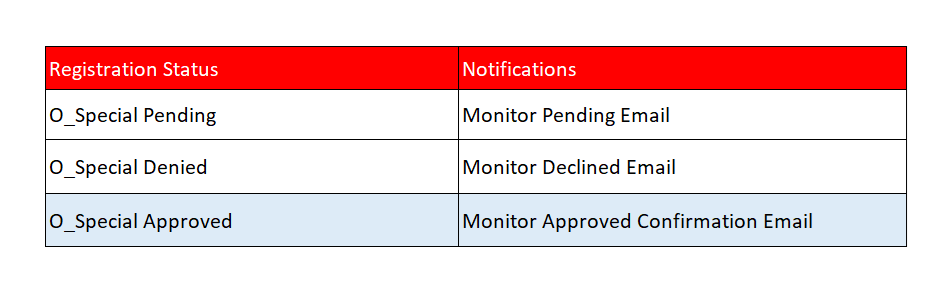
Monitored Special Invitee Emails
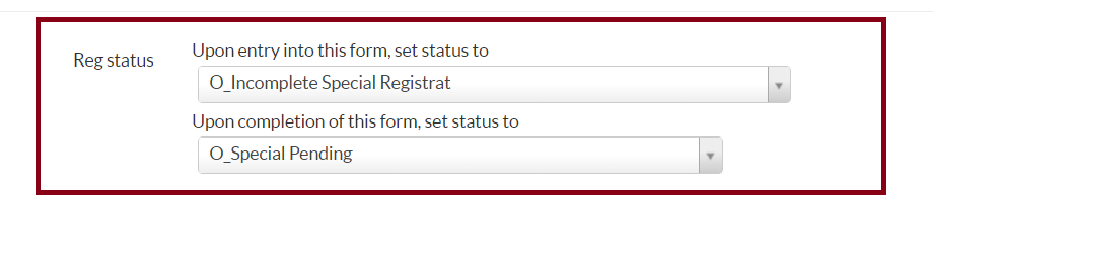
- Monitored Pending Email: Setup like you would for a monitored. This email should go to the registered special and should be auto triggered by the reg status “O_Special Pending”.
- Monitored Declined Email: Setup like you would for a monitored. This email should go to the registered special and should be auto triggered by the reg status “O_Special Declined”.
- Monitored Approved Email Setup like you would for a monitored. This email should go to the registered special and should be auto triggered by the reg status “O_Special Approved”.
Org Approval (Business Courtesy) Emails (Only required if the event is over $1,000 USD per person)
- Org (Business Courtesy) Approved Email: Email is auto sent upon successful completion of the “Business Courtesy Form” and the ethics/legal officer elected to approve the registrant to attend. This email must go to both the business courtesy approver’s email (Assistant email) and the registrant’s email.
- Org (Business Courtesy) Declined Email: Email is auto sent by the reg status “O_Registration Declined” upon successful completion of the “Business Courtesy Form” and the ethics/legal officer elected to decline the registrant to attend. This email must go to both the business courtesy approver’s email (Assistant email) and the registrant’s email.
Other Emails
- Event Reminder Email: Setup as normal. Schedule to launch to Reg statuses are one of “O_Registered”, “O_Special Approved” AND Complete = Yes.
- Cancellation Confirmation Email: Setup as normal. This email auto triggers to special invitees and/or nominees by the reg status “O_Cancelled”.
- Venue Change Email
- Speaker Change Email
- Schedule Change Email
- Post Event Thank You Email: Setup as normal. Schedule to launch to Reg statuses are one of “O_Attended”, “O_Walk In” AND Complete = Yes.
- Post Event Sorry Email: Setup as normal. Schedule to launch to Reg statuse = “O_NoShow” AND Complete = Yes.
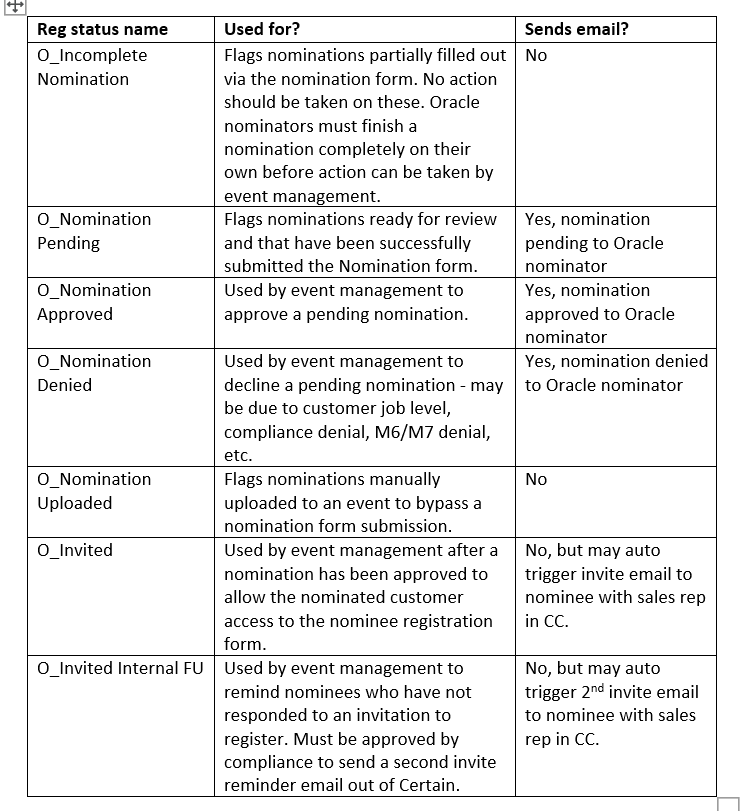
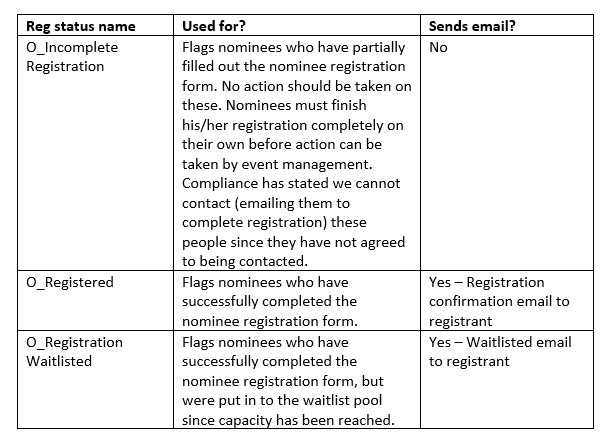
The following table provides a description of each nomination-based event registration status and the type associated with the status.
Attendee Types
You can assign the following attendee types, which are available in Certain.
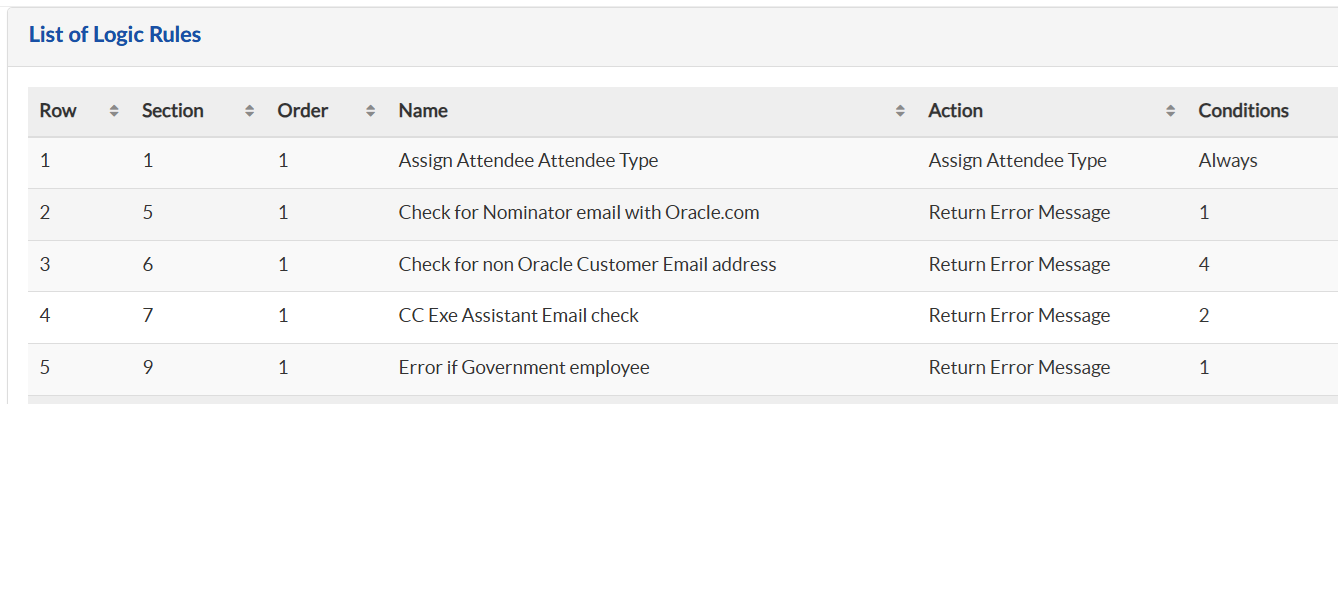
- Nominations: This attendee type is assigned by the nomination form when an Oracle sales rep nominates a customer. This attendee type is a flag to say that a nominee has not made it out of nomination review or has not taken action to register.
- Pre-approved Nominations: This attendee type is used only when compliance has approved a list of vetted nominees to be collected externally and uploaded into Certain, bypassing the nomination form.
- Registered Nominations: This attendee type is assigned by the nominee registration form (either standard or waitlisted flow) when a customer enters the form. This attendee type is a flag to say an approved nominee customer is attempting to or has completed registration.
- Special Invites: This attendee type is assigned by the special invitee registration form, tele registration form and/or walk in form. This attendee type flags special guests outside of the nomination process such as speakers, vendors, partners, ect who are not Oracle employees.
- Oracle Staff: This attendee type is assigned by the special invitee registration form or the walk in form. This attendee type flags Oracle employees who are attending the event.
- Test: This attendee type is used to manually mark registrations created for testing purposes.
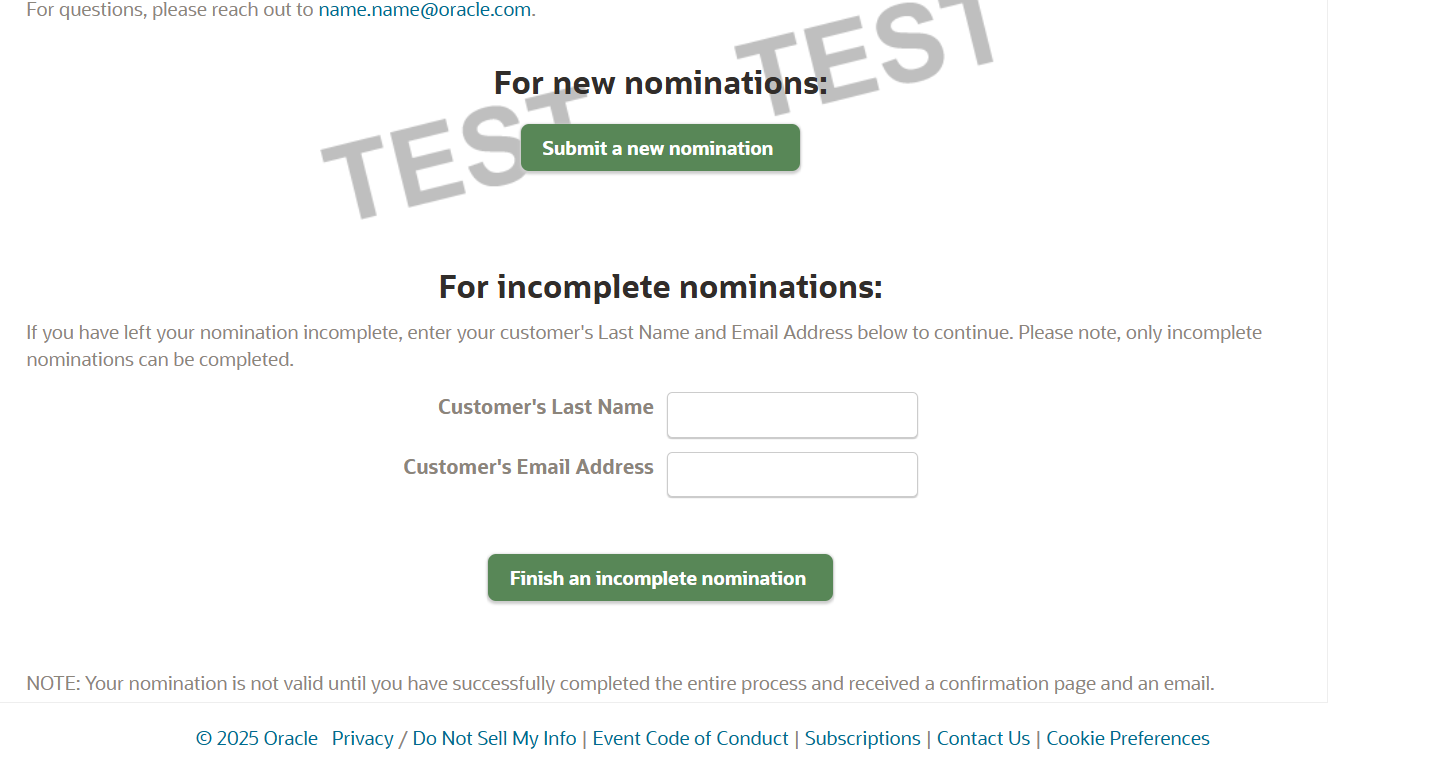 Note:1. The marketer may supply custom content for this page to provide additional instructions or helpful links related to Oracle sales reps.